|
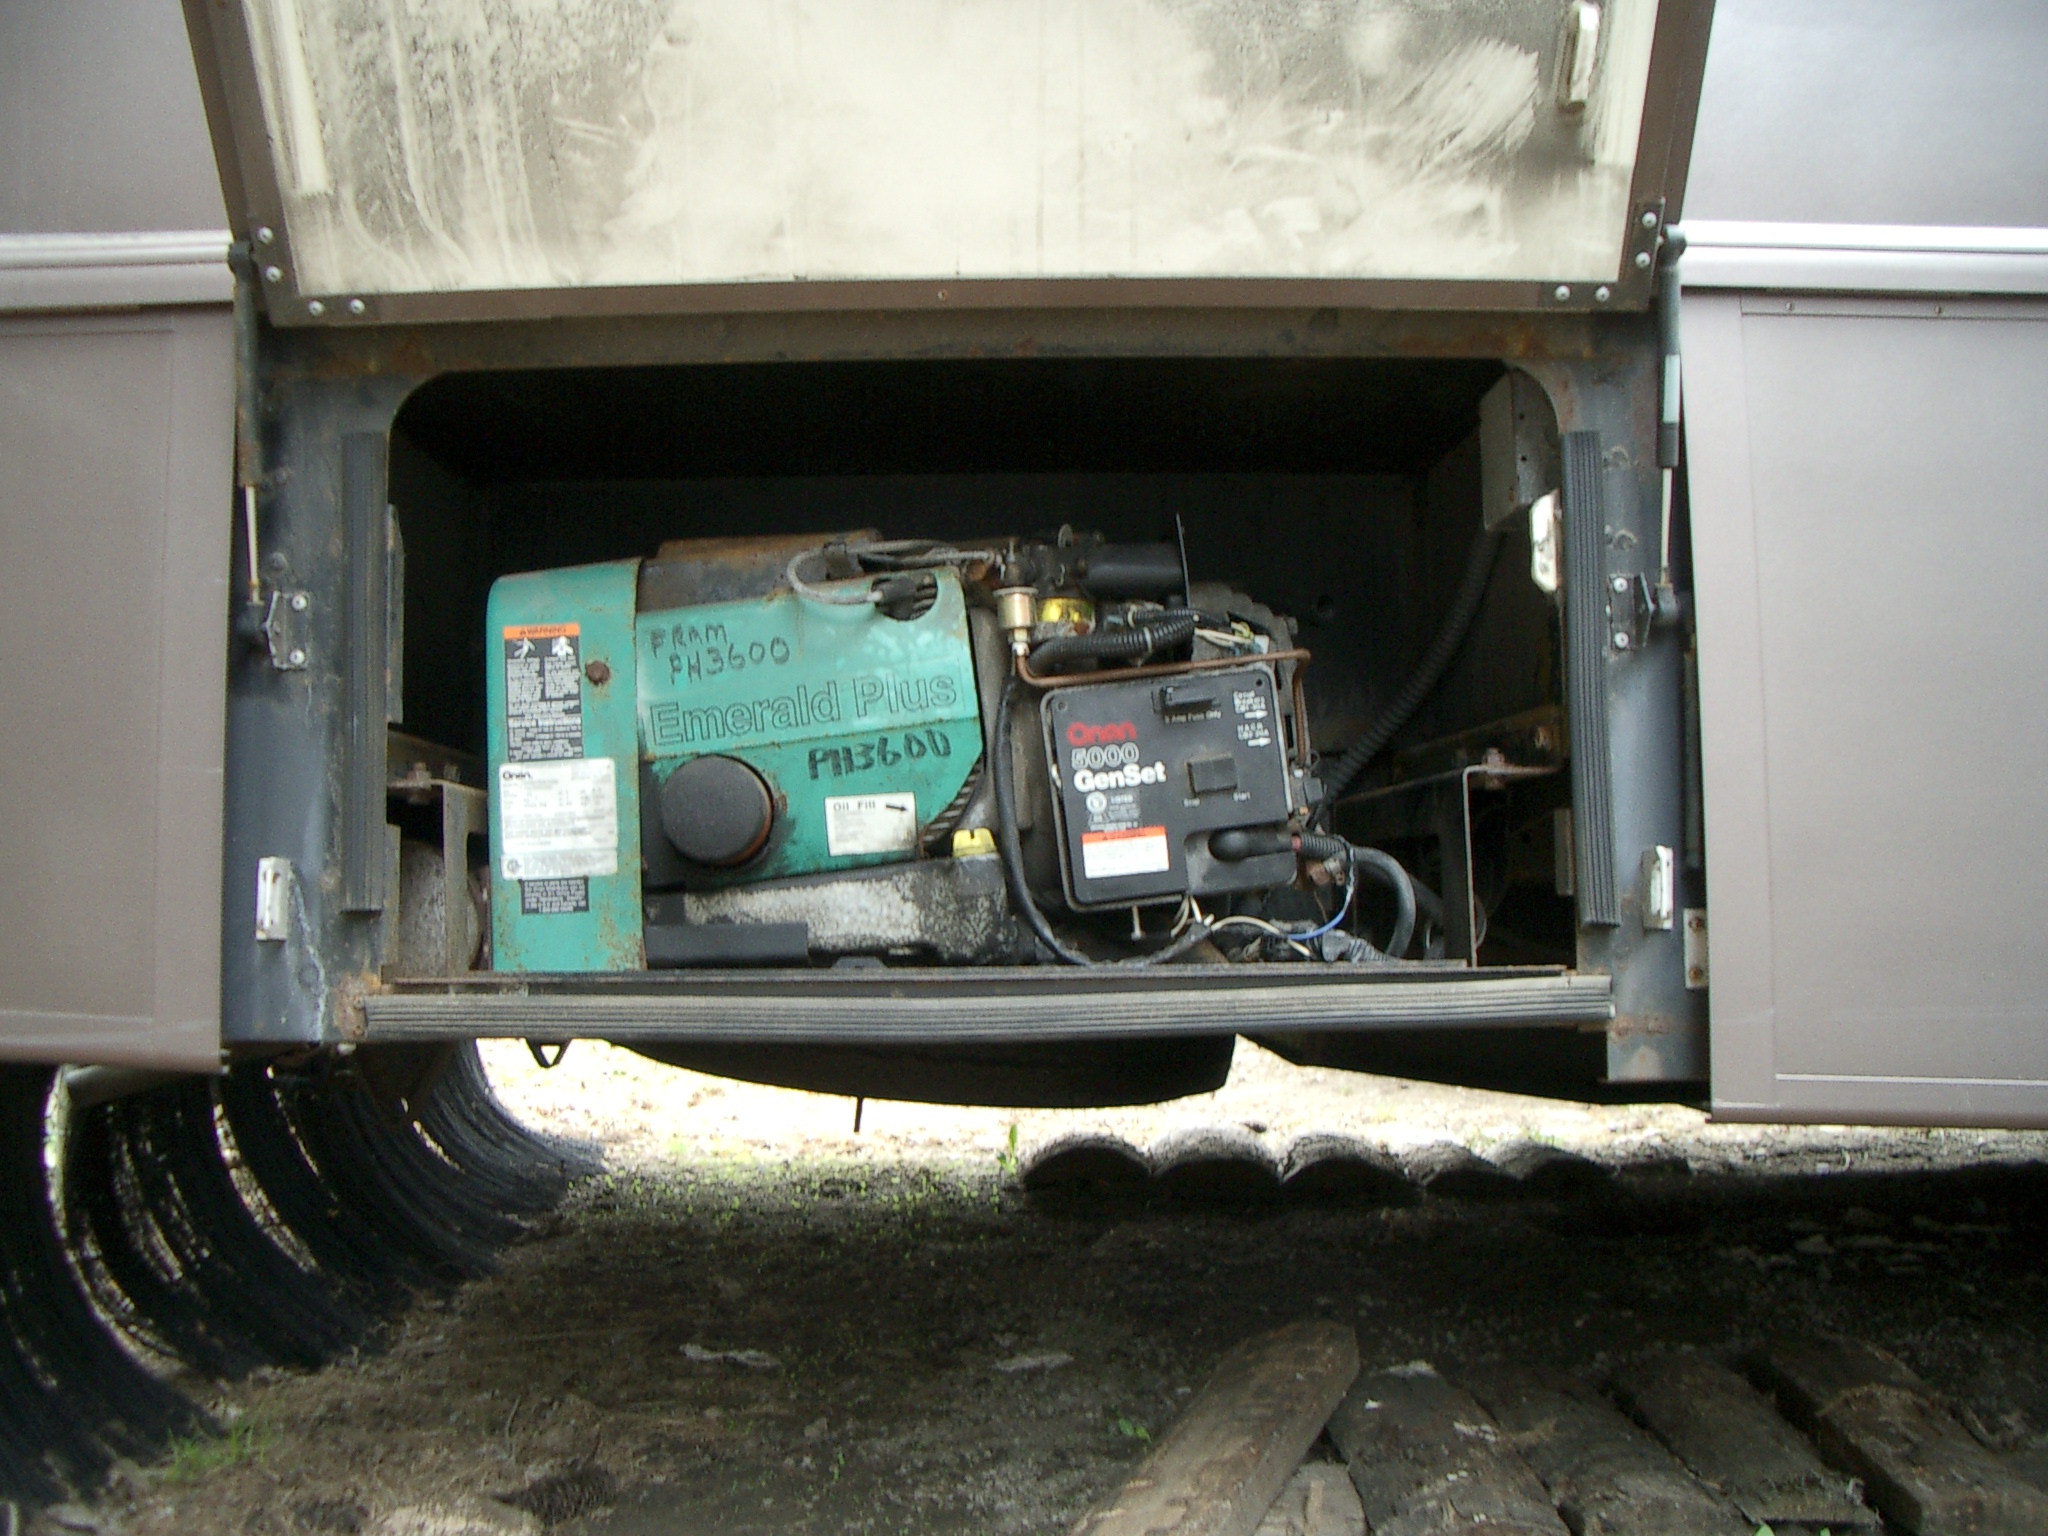
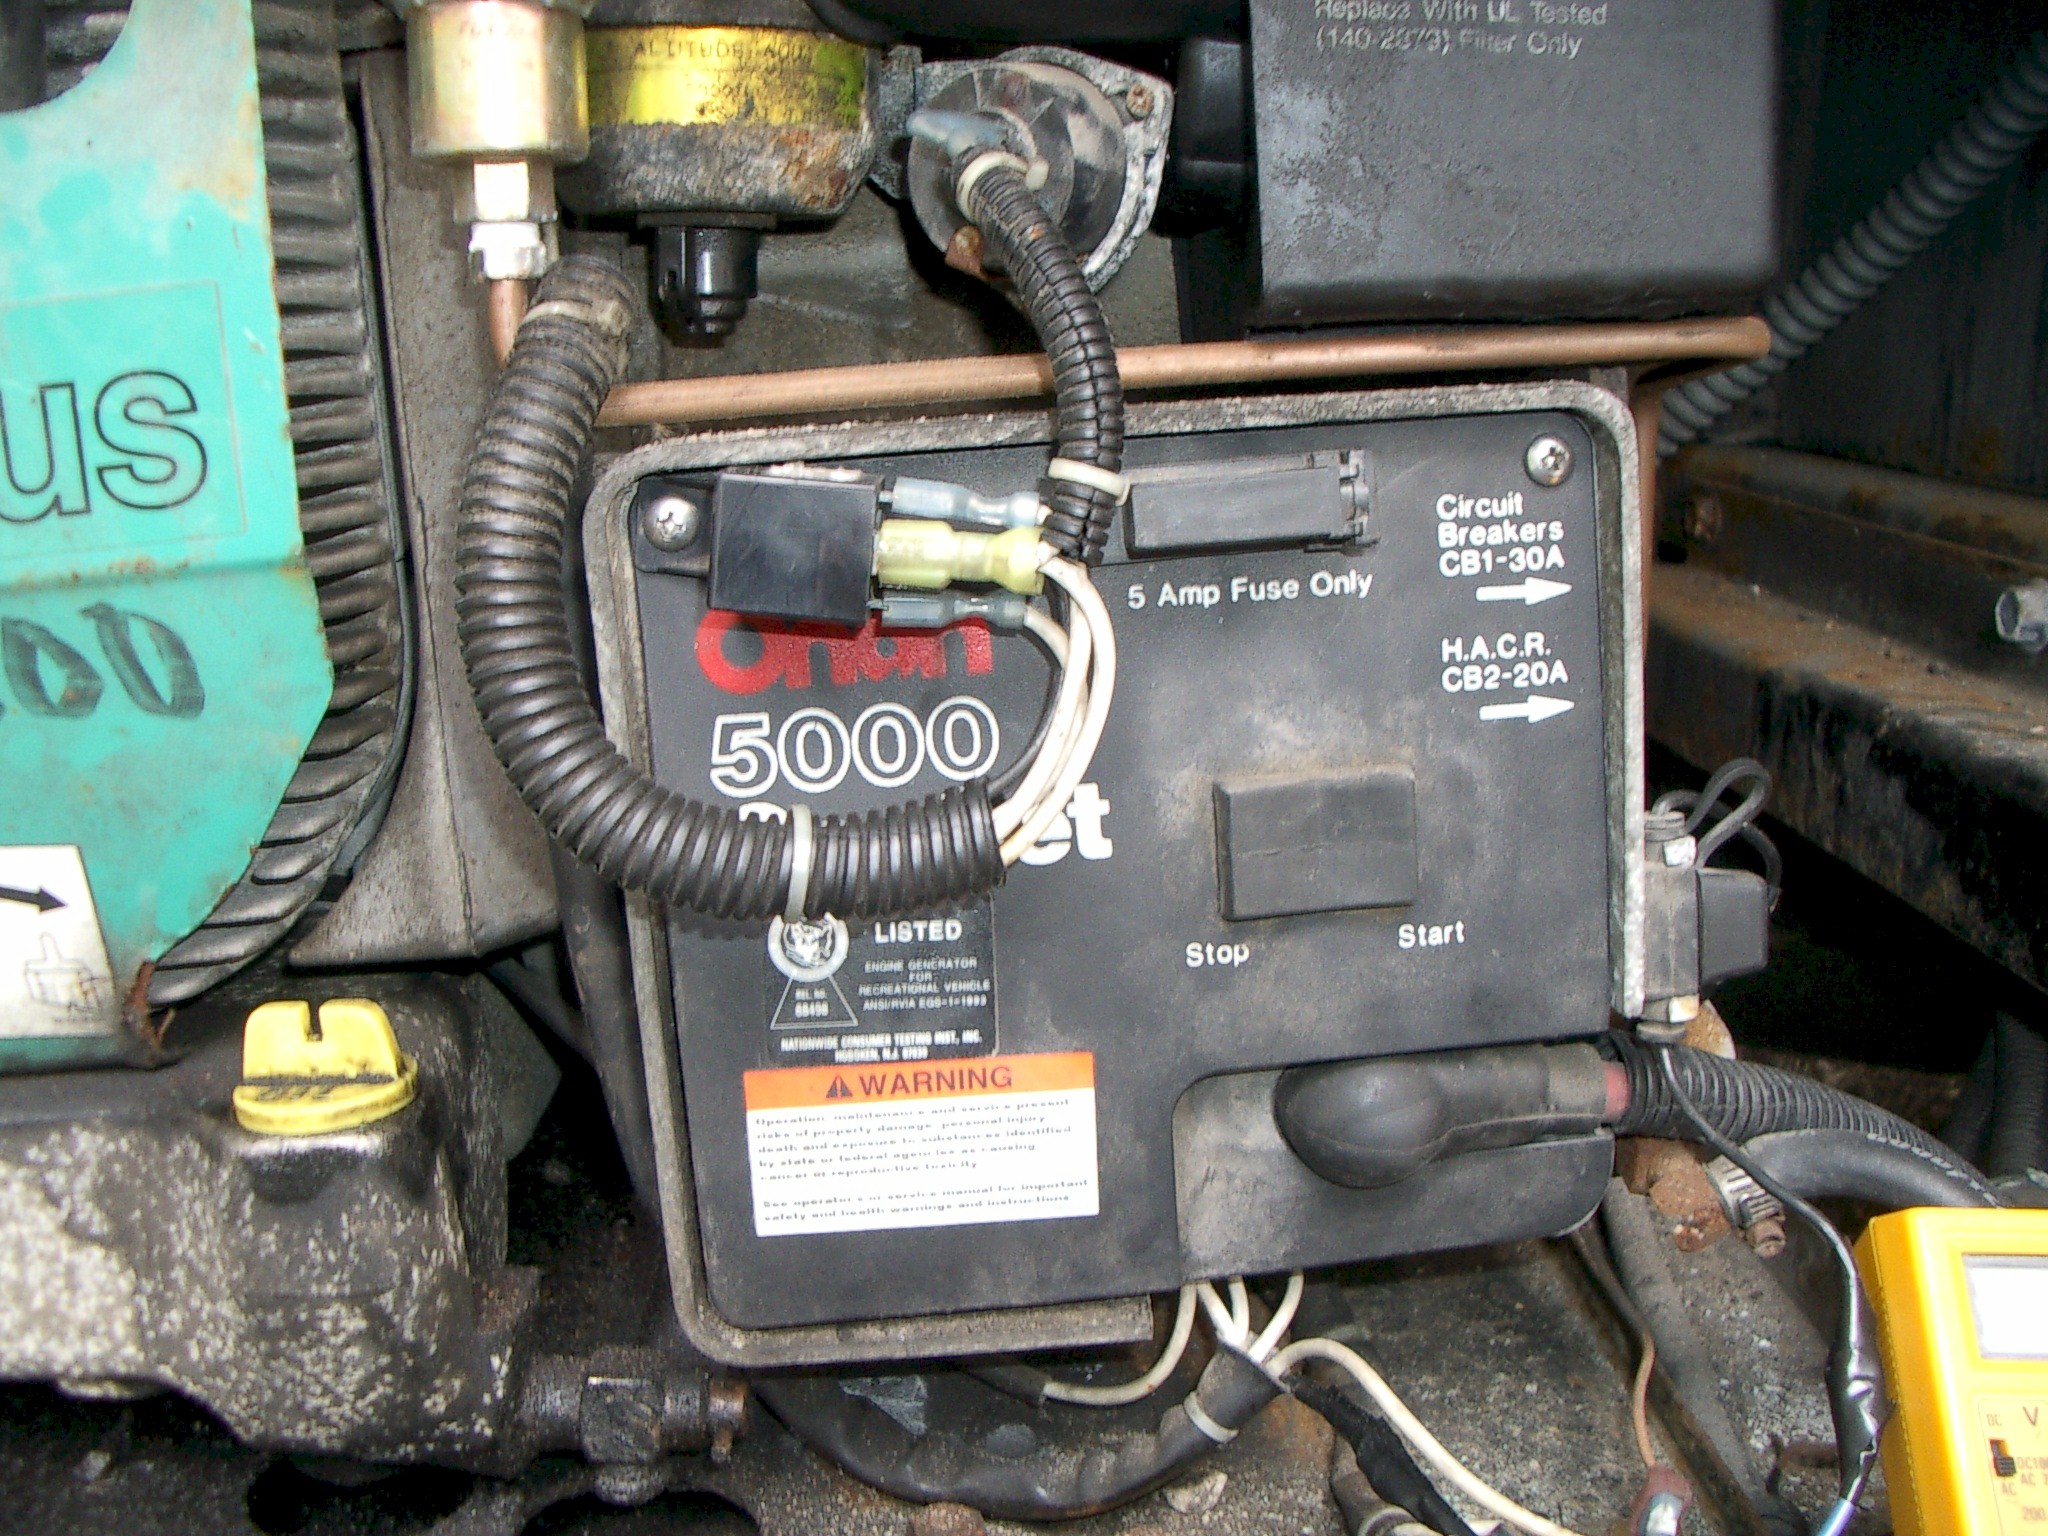
I have been a steadfast supporter of Winnebago. I still believe they are the best motorhome based on value. But these problems I've had with my generator! Open to the elements, it suffered from extensive corrosion and became a major maintenance headache. These problems and photos were documented in 2005. The motorhome, manufactured in 1997, was eight years old. Onan need to shoulder a good part of the blame. Onan's engineering is nowhere near what it should be. Circuit boards are open to the elements. Connectors are open to the elements. Wires are free to chafe and burn through. They could have done a much better job. Beware ... if you are looking at a Winnebago be sure to carefully check the generator and the way it is mounted! Clicking on any photo will give you a larger image.
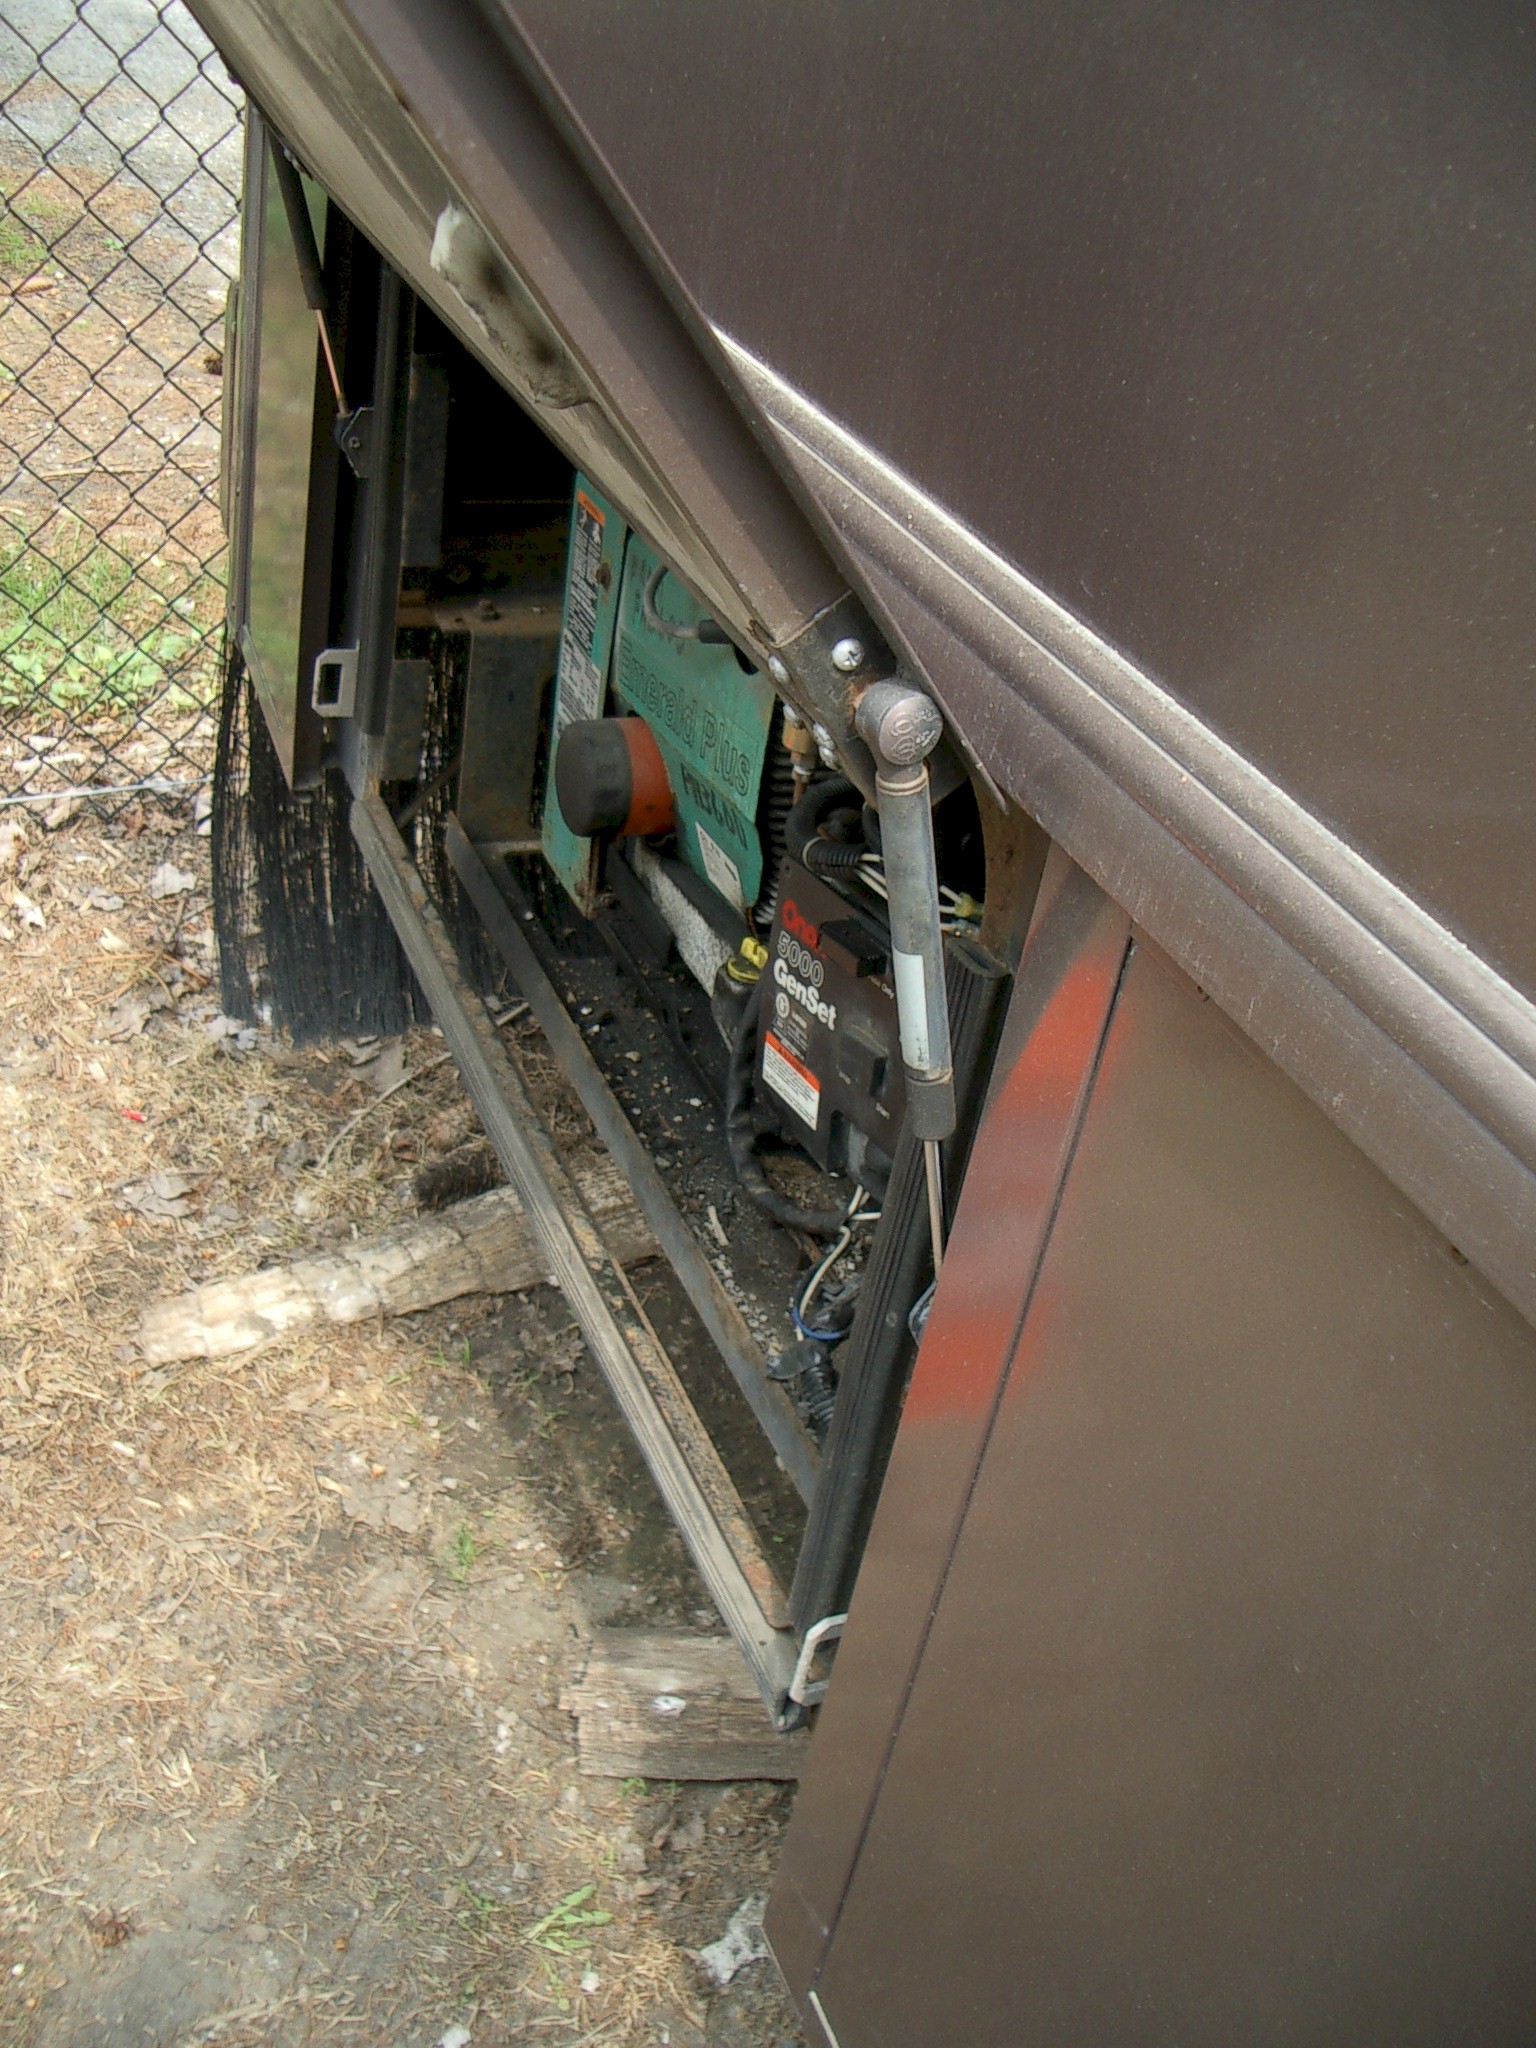
The generator is not vented through the compartment door. A cut in the tray allows air to flow in from the front of the motorhome. This was a HUGE mistake. In front of the cut-out are the right rear duals. On the road, in the rain and snow and salt spray enters the compartment and soaks everything. The spray enters the area where the brushes press on the stator. All that dirt and salt gets ground right into the brushes and stator.
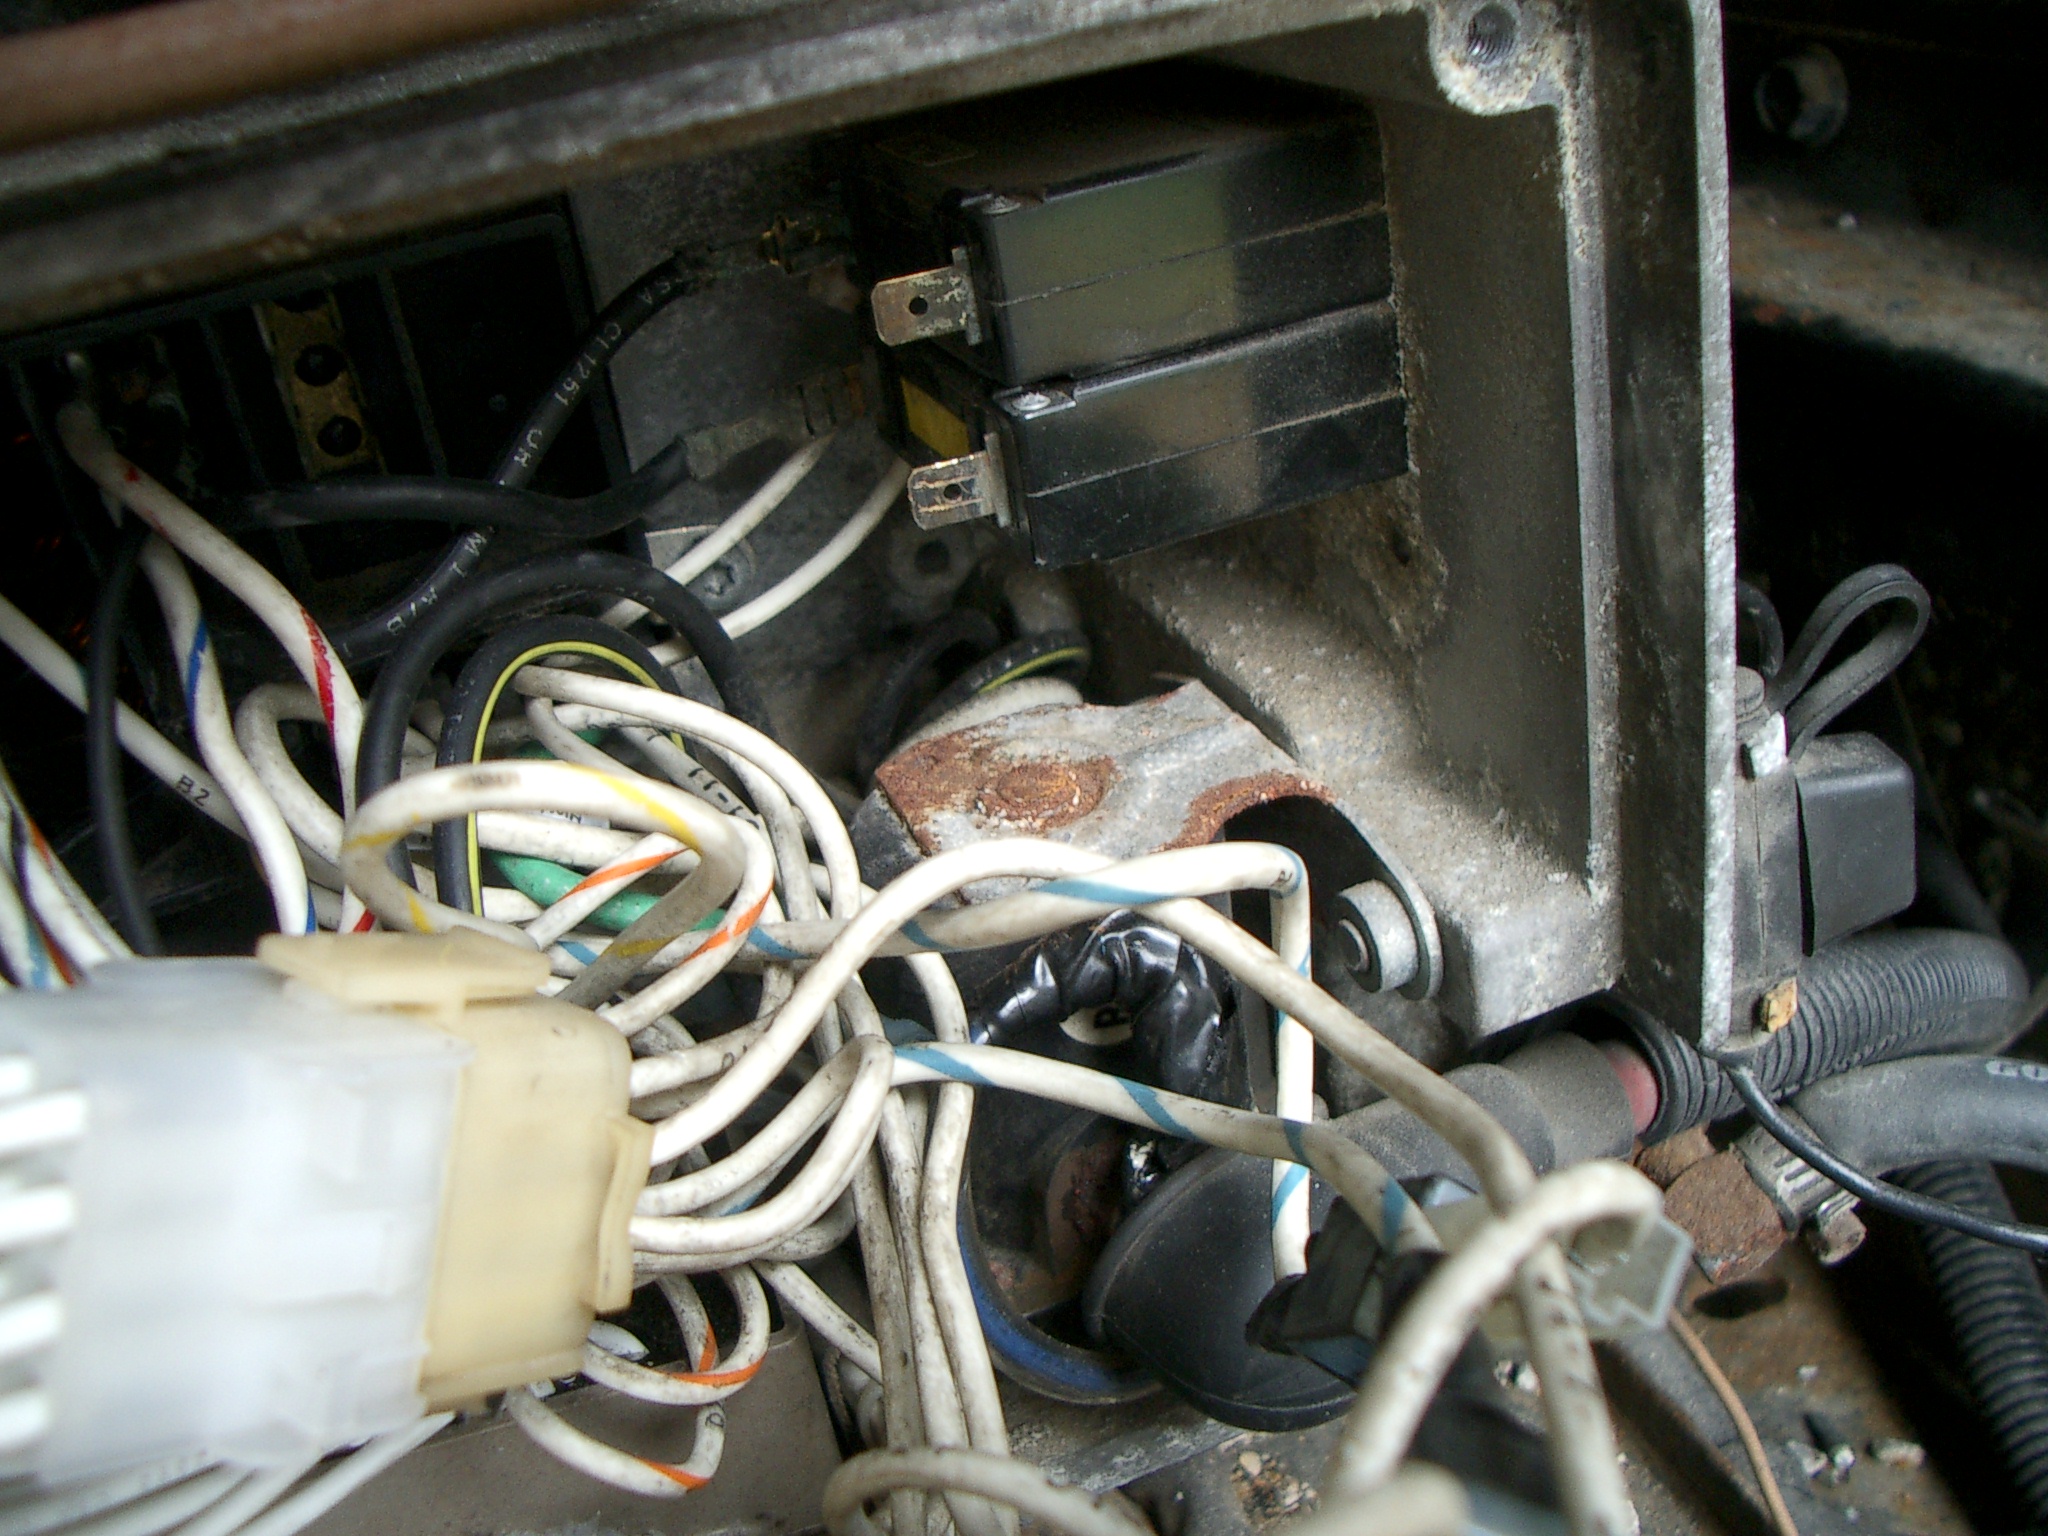
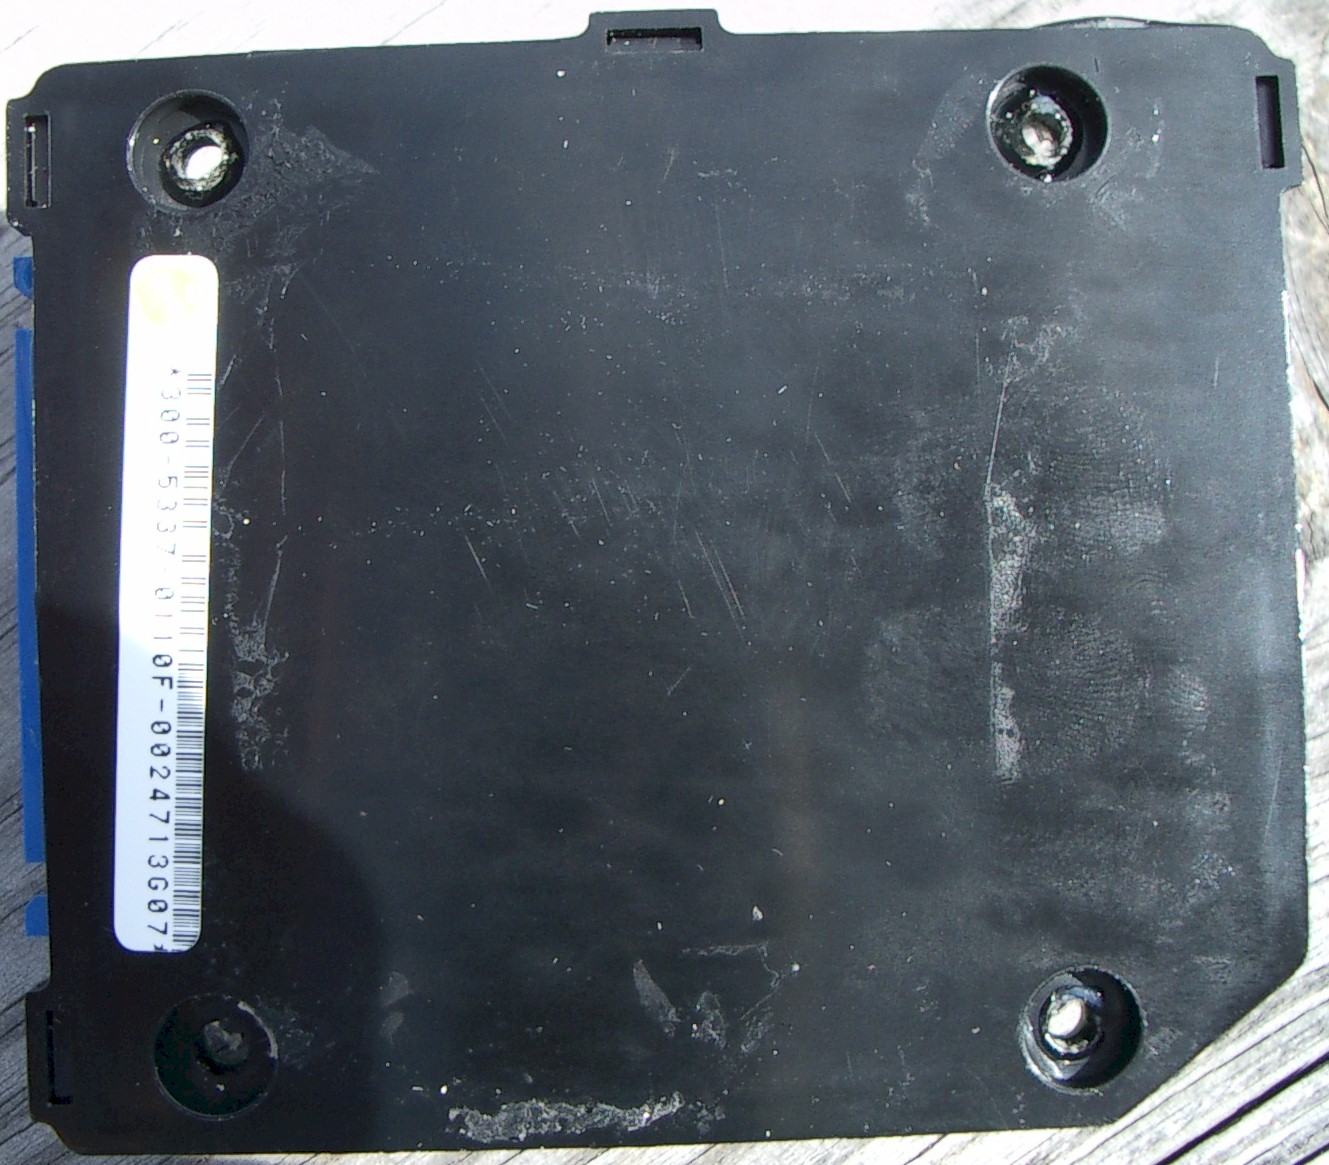
If this image is too small, click on it for a larger image. This is the inside of the control box, behind the front cover. Notice the pitting and corrosion. Notice the rust on the top of the starter relay. The whole compartment, and all connections, are a mess.
The following are specific problems I've solved. Aluminum
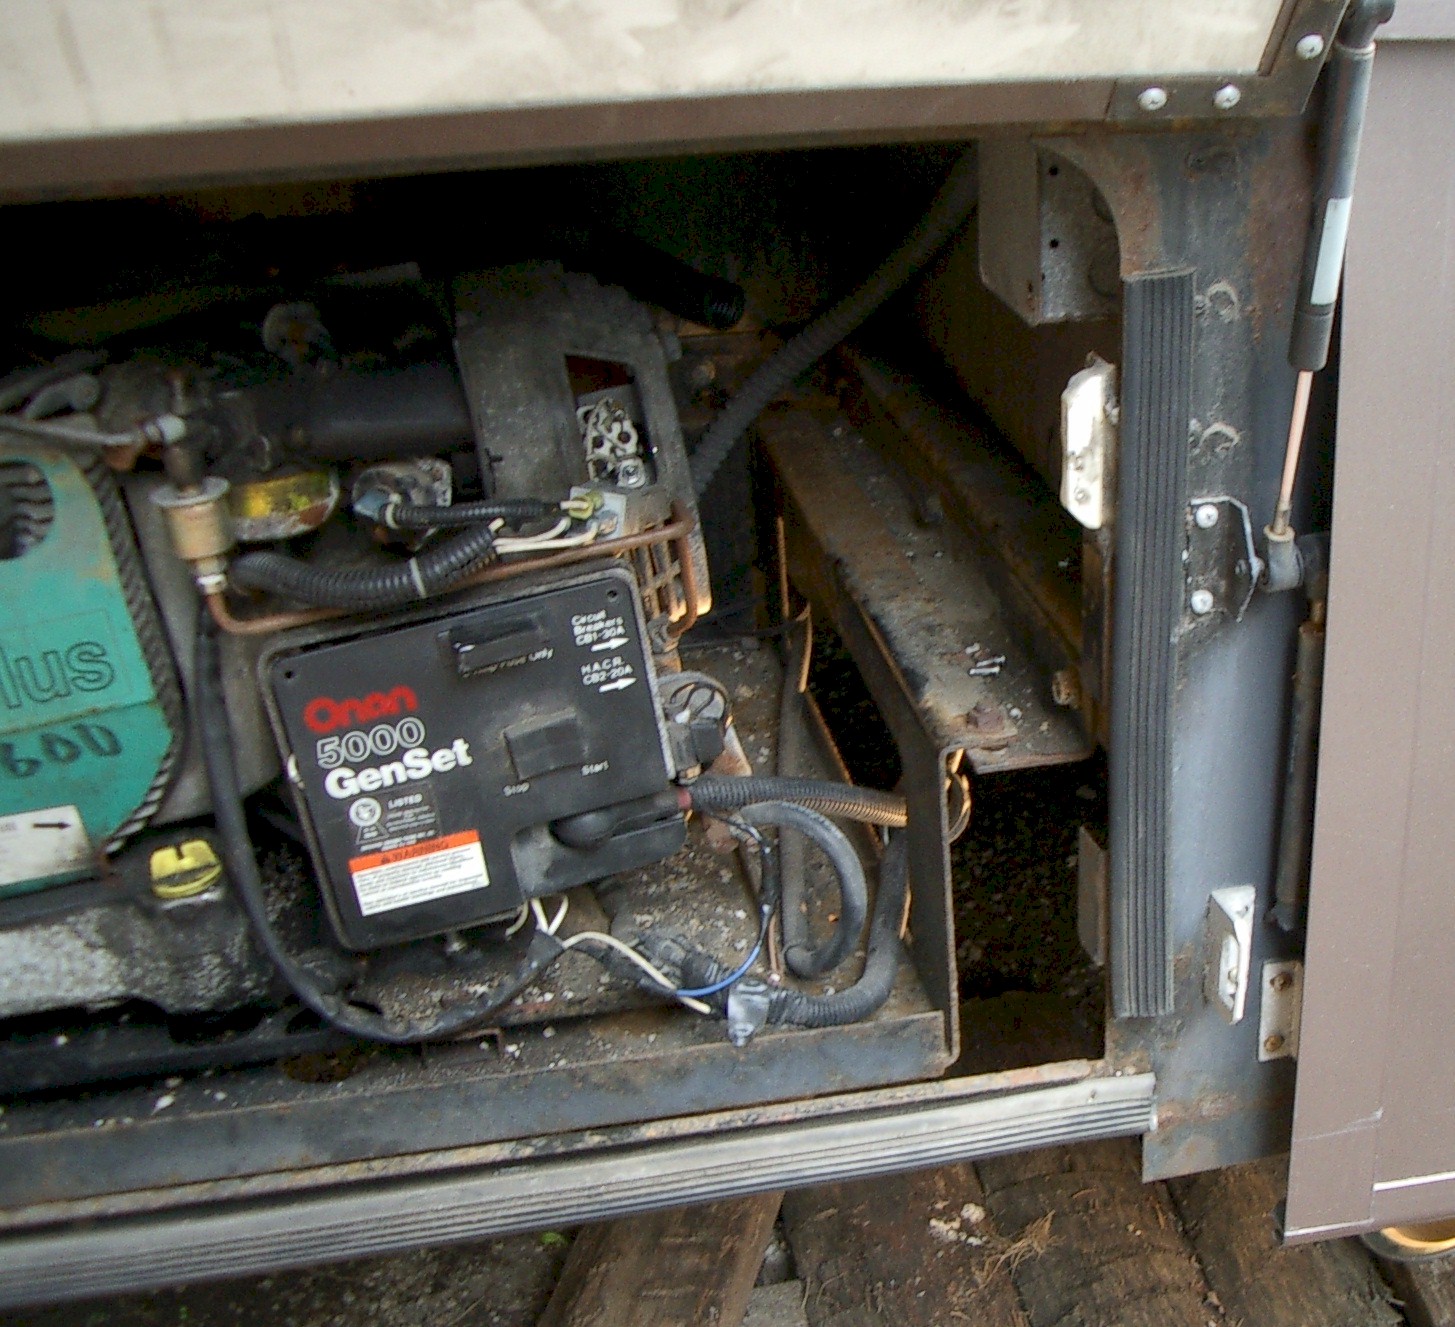
to Copper Connections Corrode The generator on my 1997 Winnie, a Onan Emerald Plus 5000, was producing power. I checked the connections at the generator's circuit breakers. There was no power at the transfer switch. The power leaves the generator via some 12 gauge stranded aluminum wire. That short run terminates in a box where the copper from the motorhome is attached via a twist connector. I found the problem in the connection being corroded. It was repaired by using good crimped connections. In the picture to your right (click on it for a larger image) a crimp connector has replaced the first hot connection. Note that the problem is based in the methods used to mount and ventilate the generator. Power Wire to Fuel Pump Shorts to Ground The power wire for the fuel pump is attached directly to the starter battery lead. That runs unprotected through a metal hole and to an external fuse and then to the fuel pump. I replaced the wire with one encased in a plastic tube that will provide more protection from abrasion. I encased the wire in surgical tubing. In the picture to the right (a much larger version is available by clicking on that picture) you can see the battery cable coming in from your right. A blue wire is attached to the relay connection and exits the existing hole protected by the tubing. It then goes to the fuse and then to the pump. This problem was NOT related to the mounting. It was simply a poor choice of wire for the job. Fuel Pump Relay Fails The fuel pump relay failed. I replaced it. The original location had the relay buried behind the carburetor and air intake. The relay was secured to the outside of the generator for easier access. In the picture to the right, the relay is secured to the electronics cover via a stainless steel screw that replaced the original junky screw. Again, the mounting is allowing this problem.
This relay should never have failed has the generator been properly ventilated.
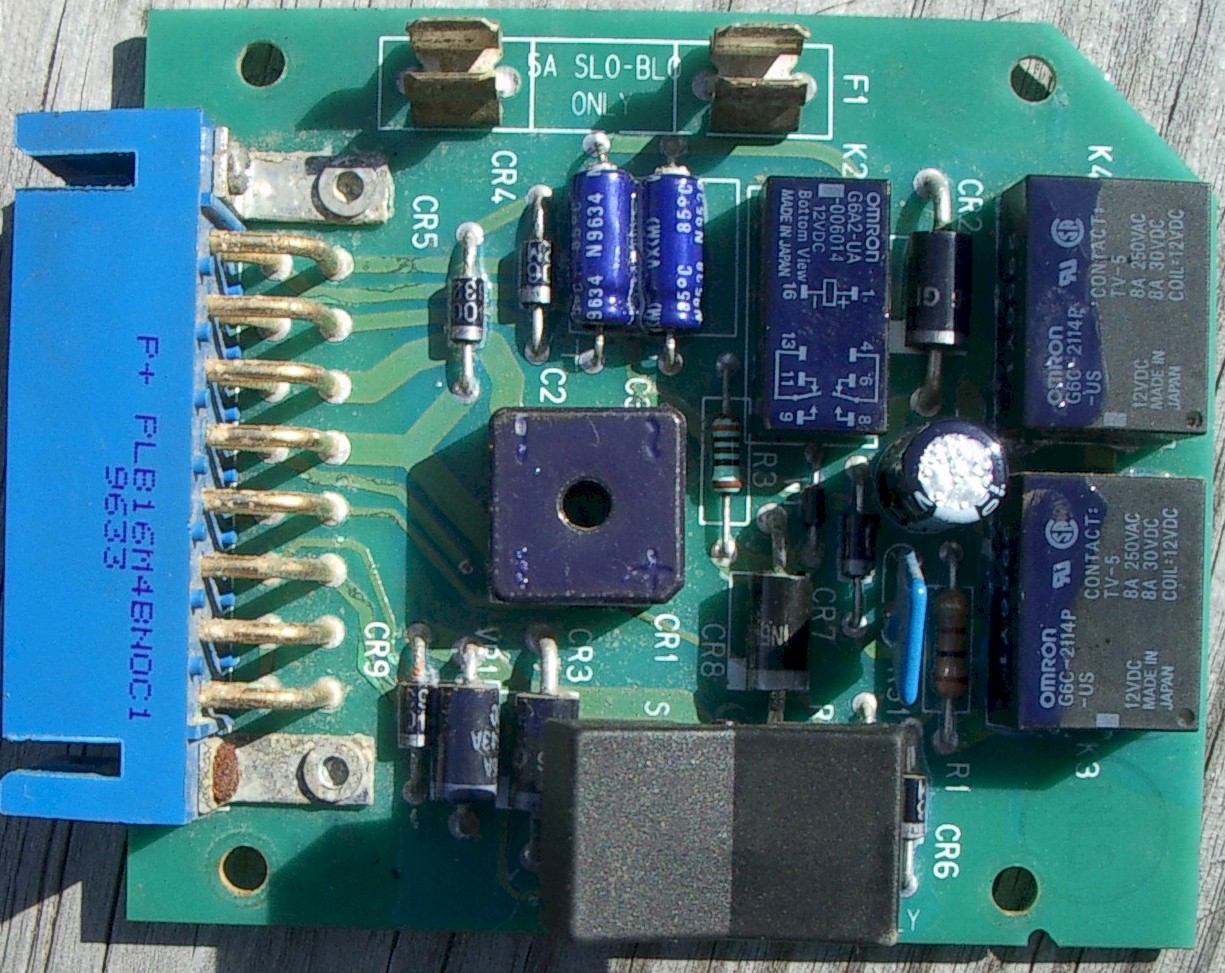
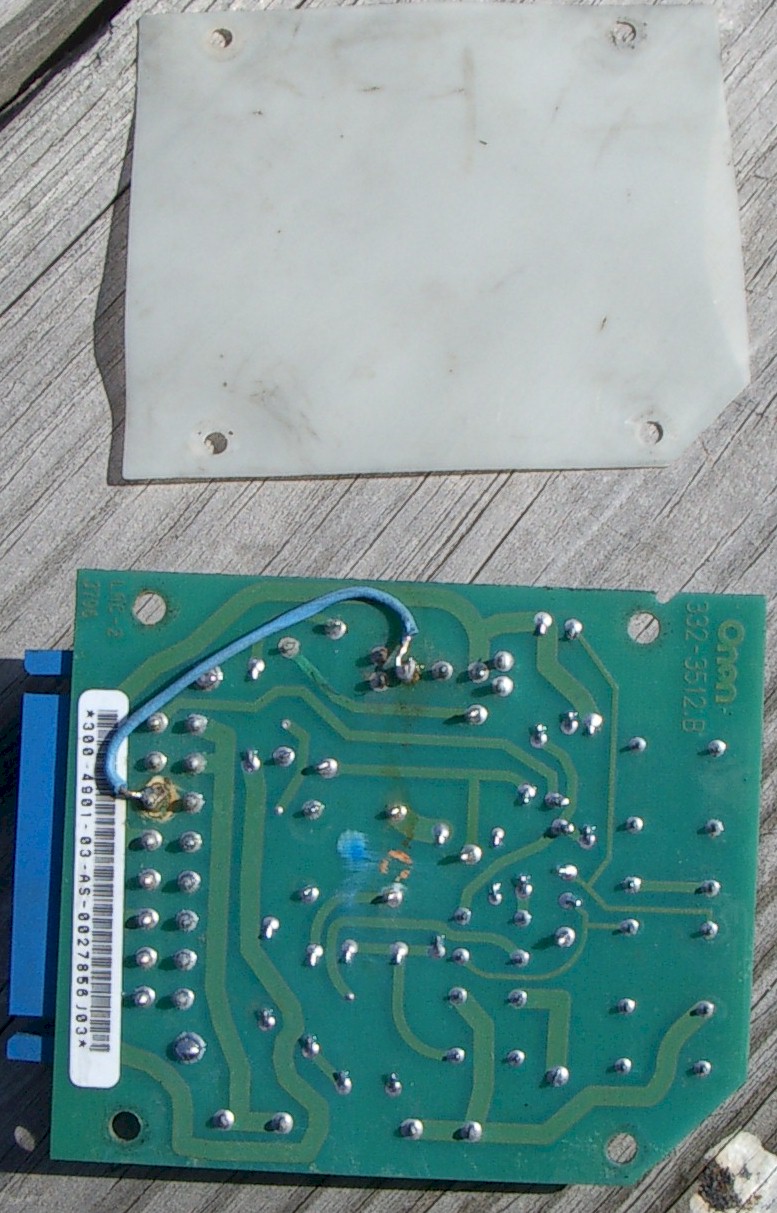
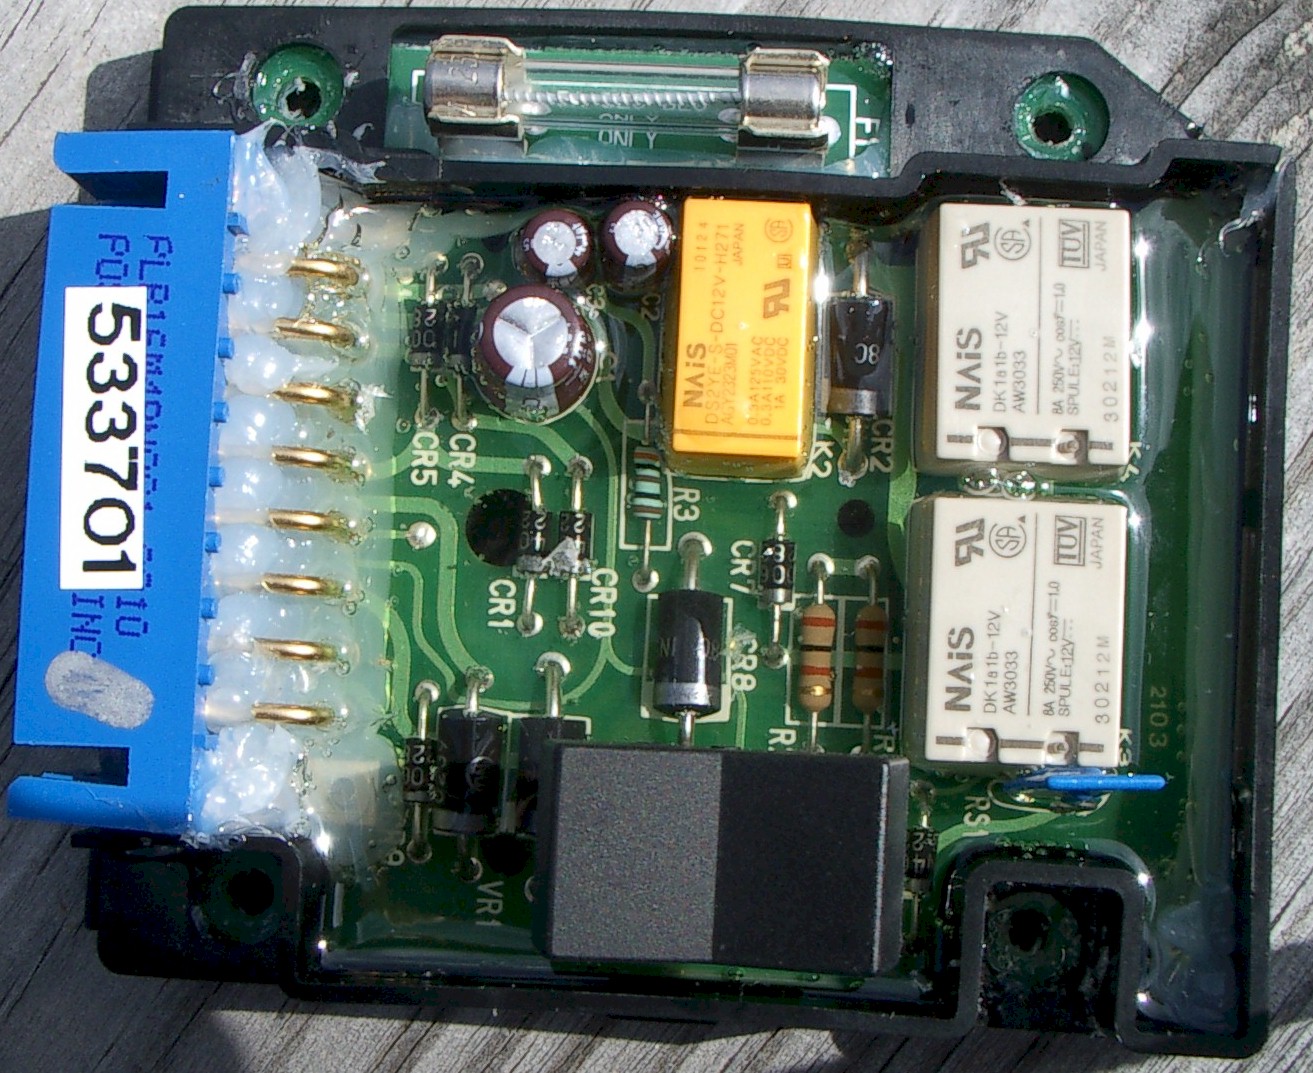
Ongoing problems are now pointing to the control board. That was changed out. On the old board you can see pitting and corrosion. I fixed one problem by using a wire to bypass destroyed traces.
The old board failed due to corrosion. The last straw was found in shorted windings. I removed the unit and replaced it. Generator Removal
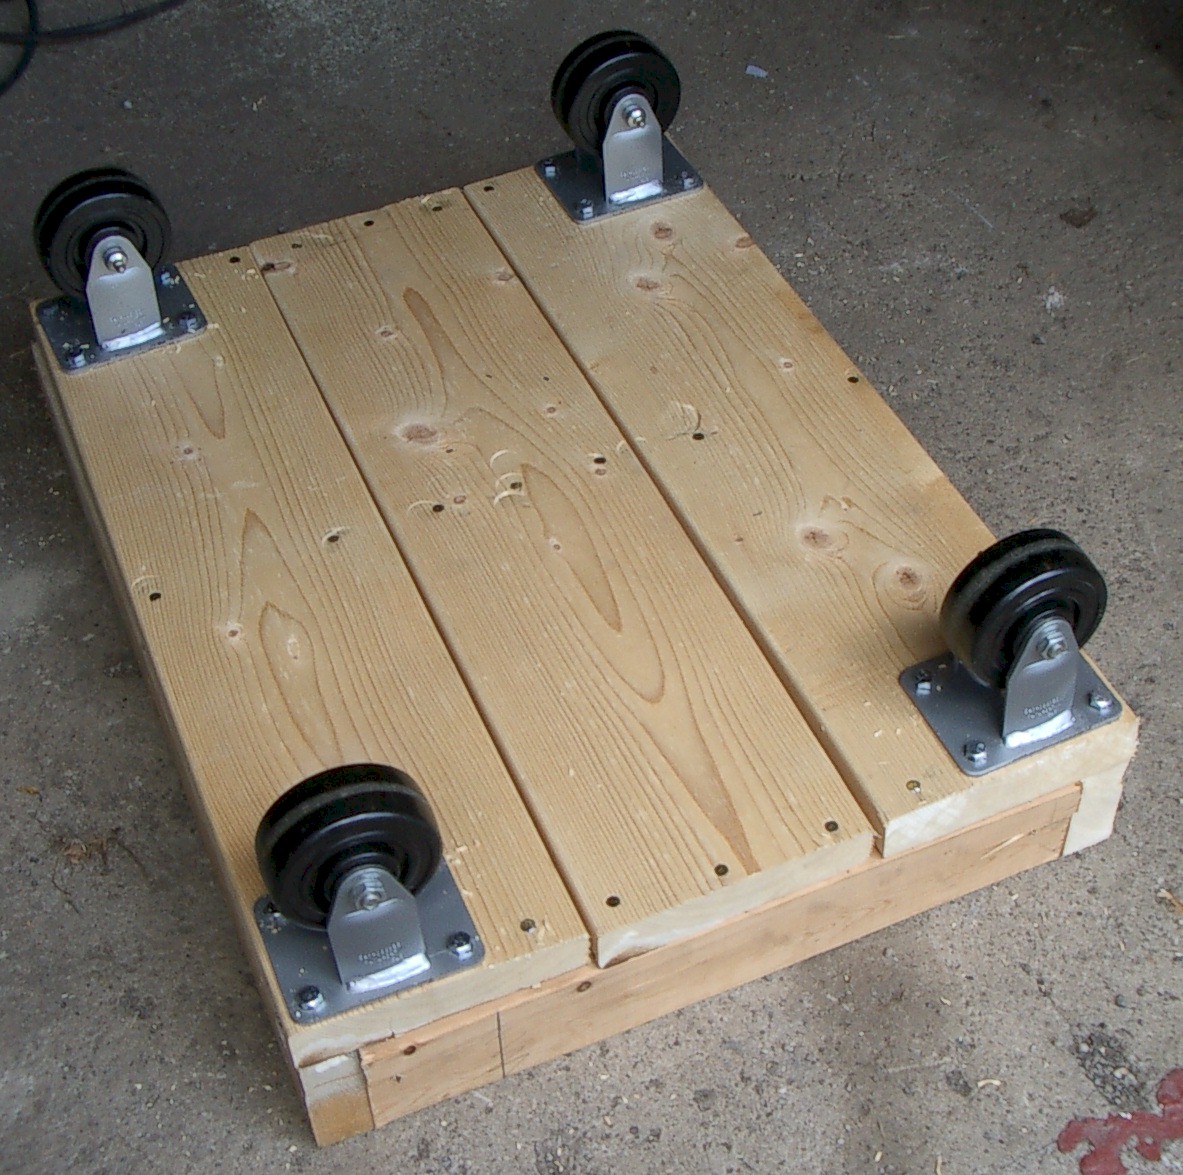
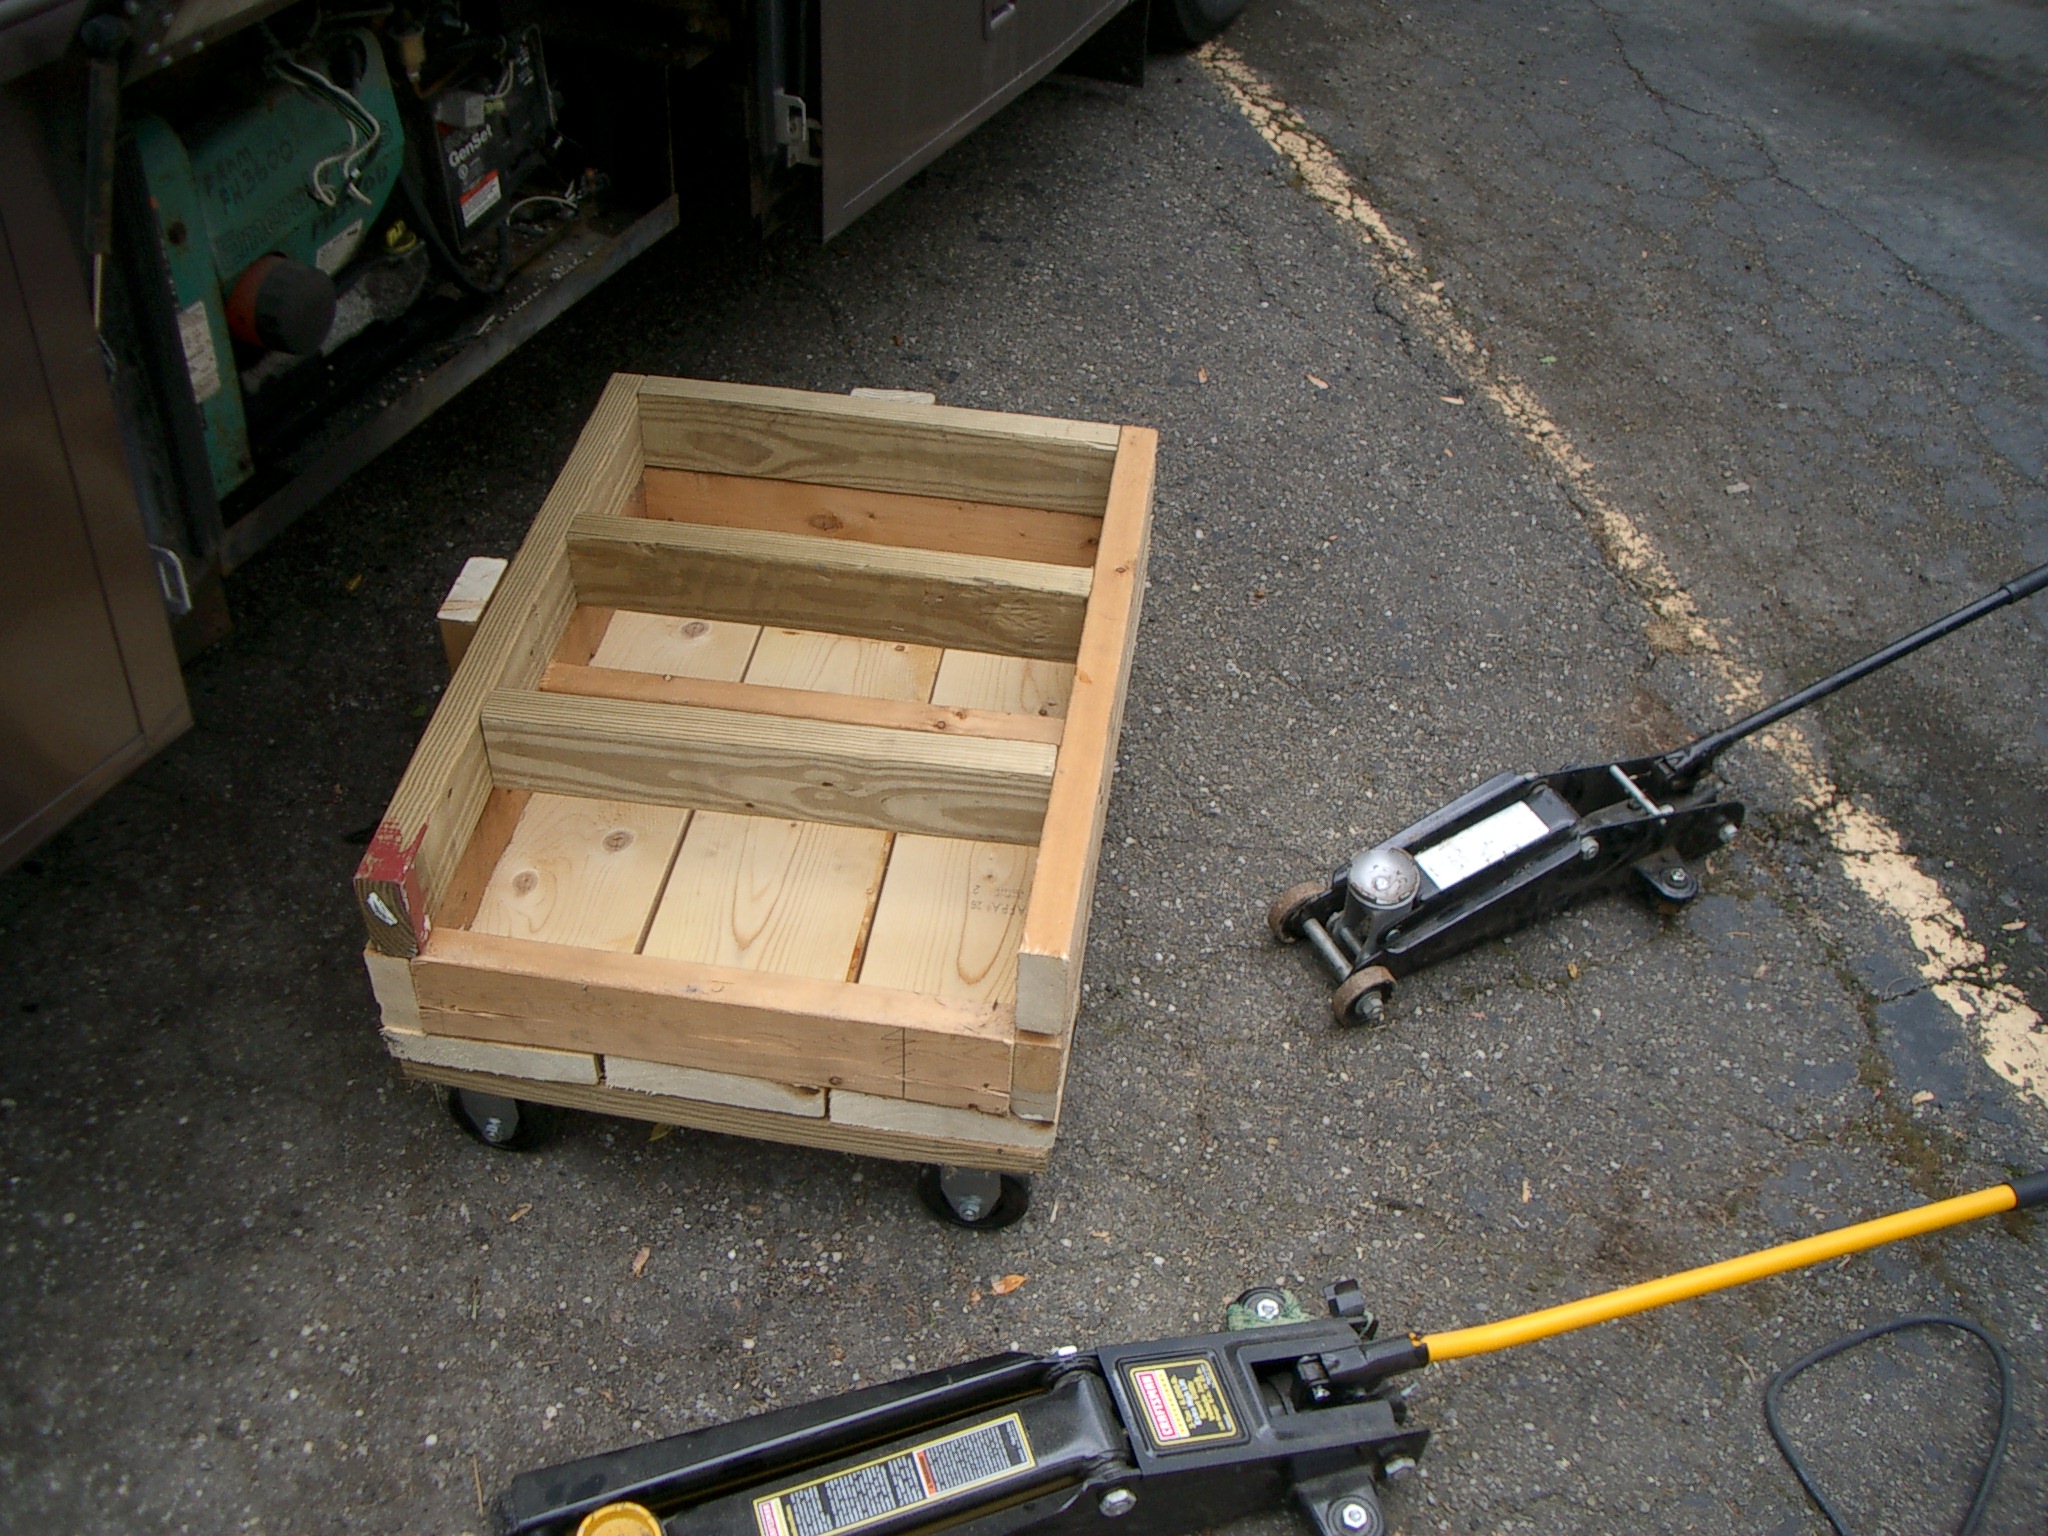
The original though was to then lift the generator up and build a workbench from the top box to the ground to allow for the removal of the dolly. As it turned out, leaving it on the dolly allows me to run it for testing and still move it to an appropriate cubbyhole for storage. If you are buying a Winnie, beware! Check the generator carefully! This story continues with the installation of the new Generac
|